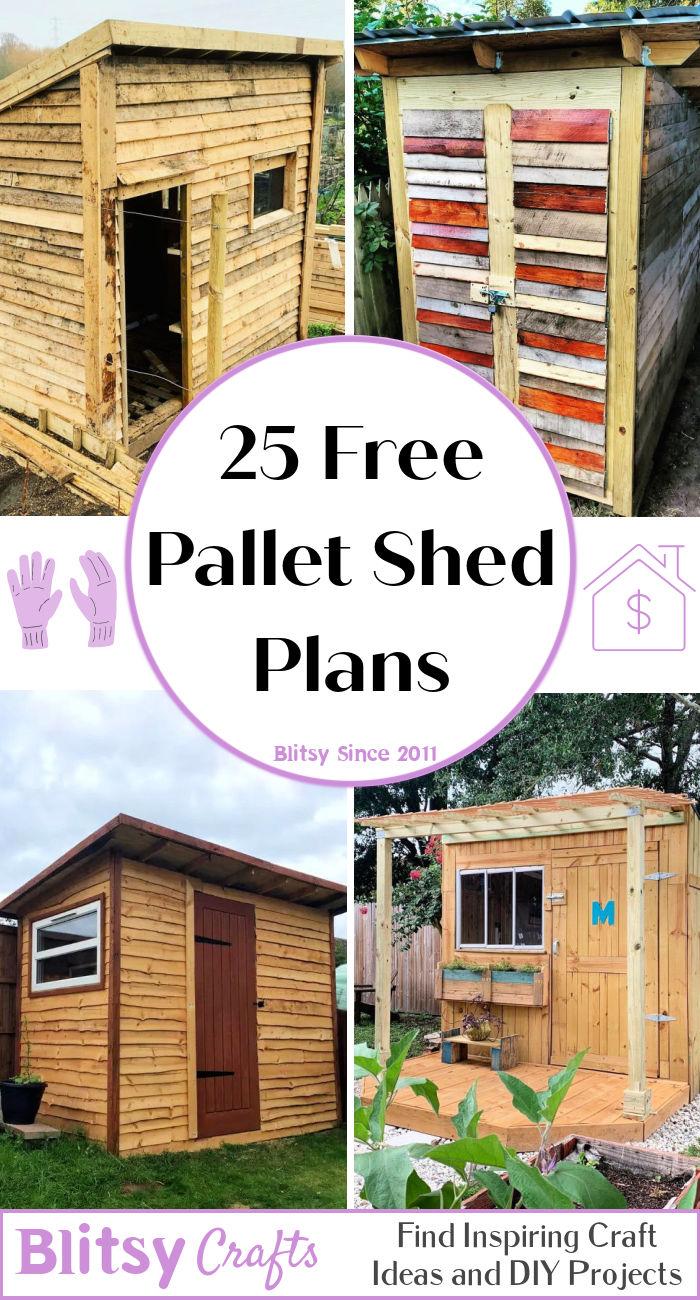
Step-by-Step Pallet Shed Plans PDF for Affordable Backyard Storage
Tired of clutter overflowing your garage and backyard? Dreaming of a stylish and functional storage solution without breaking the bank? Then look no further! This guide provides comprehensive, step-by-step instructions for building your own pallet shed, a cost-effective and surprisingly elegant addition to your outdoor space. We'll walk you through the entire process, from sourcing materials to the final finishing touches, ensuring you build a sturdy and long-lasting structure.
Gathering Your Materials: The Foundation of Your Pallet Shed
Before you grab your tools, let's gather everything you need. This project relies heavily on reclaimed wooden pallets, so your first step is sourcing them. Check with local businesses, construction sites, and even your own networkâ€"many are happy to give away pallets that would otherwise be discarded. Inspect each pallet carefully; choose sturdy ones with minimal damage and consistent wood quality. You'll also need additional lumber for structural support and bracing. This might include pressure-treated 4x4 posts for the foundation, 2x4s for framing, and plywood for the roof and siding, if desired. Don't forget essential fasteners like screws, nails, and possibly bolts. Finally, gather your tools: a measuring tape, saw (circular saw recommended), drill, level, hammer, and safety gear (safety glasses and work gloves are a must!).
Building the Foundation: A Solid Base for Your Storage Solution
A strong foundation is critical for a long-lasting shed. We recommend using pressure-treated 4x4 posts set in concrete footings. This ensures stability and prevents rot. Begin by accurately measuring and marking the location for your posts, ensuring they are level and spaced appropriately for your pallet dimensions. Dig holes deep enough to accommodate the posts and concrete. Then, set the posts in the holes, ensuring they are plumb (perfectly vertical), and fill the holes with concrete, allowing it to fully cure before proceeding.
Creating the Pallet Base
Once the concrete has set, you’ll begin constructing the base of your shed using the pallets. Carefully position the pallets on top of the 4x4 posts, ensuring they align perfectly. Secure them to the posts using heavy-duty screws or bolts for robust support. This creates a solid and level base for your structure. Consider using shims to level any uneven pallets before securing them permanently.
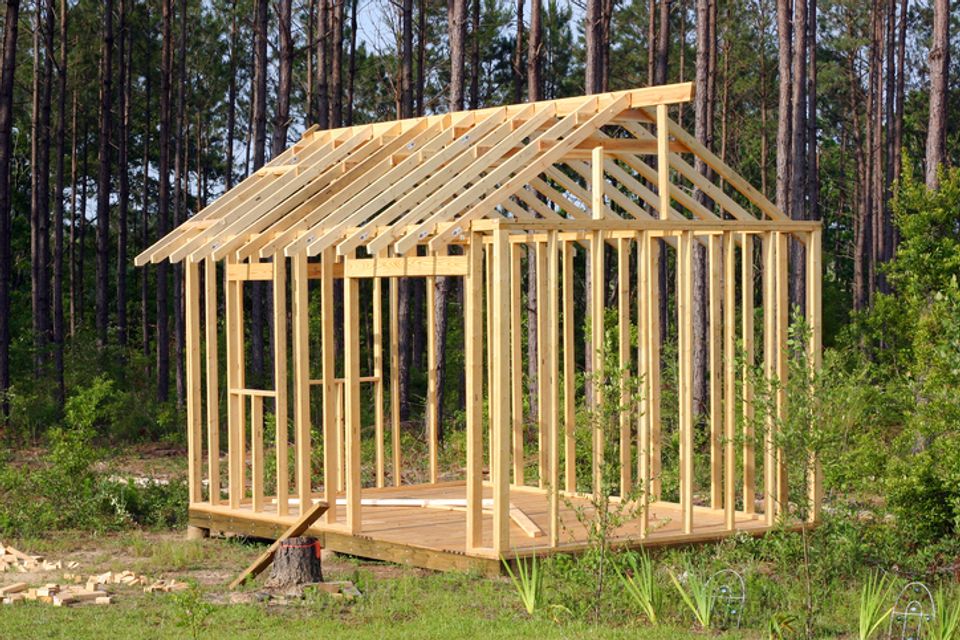
Constructing the Walls and Roof: Bringing Your Vision to Life
With the base firmly in place, you'll erect the walls and roof. Here, you'll be using more of your pallets strategically. You can construct the walls using pallets vertically or horizontally, depending on the aesthetic you desire and the condition of your pallets. For added stability, consider reinforcing the pallet walls with additional 2x4s. For the roof, you have options: a simple gable roof using plywood and more 2x4s for framing or, for a more rustic look, you might even be able to layer pallets to form a sloped roof (though this requires careful planning and sturdy pallets).
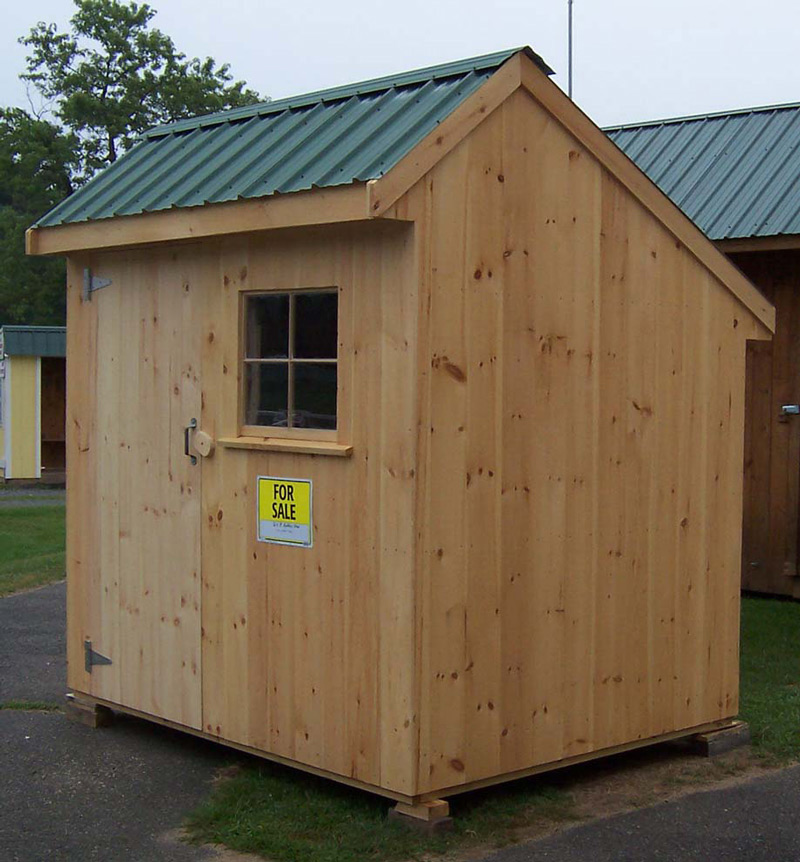
Adding Doors and Finishing Touches
Once the walls and roof are complete, it's time to add the door. You can construct a simple door using more pallets or purchase a pre-made door that fits your dimensions. Remember to reinforce the door frame for added security. Finally, consider adding a finishing touch with a coat of weather-resistant sealant or paint to protect the wood and enhance the aesthetic appeal of your shed.
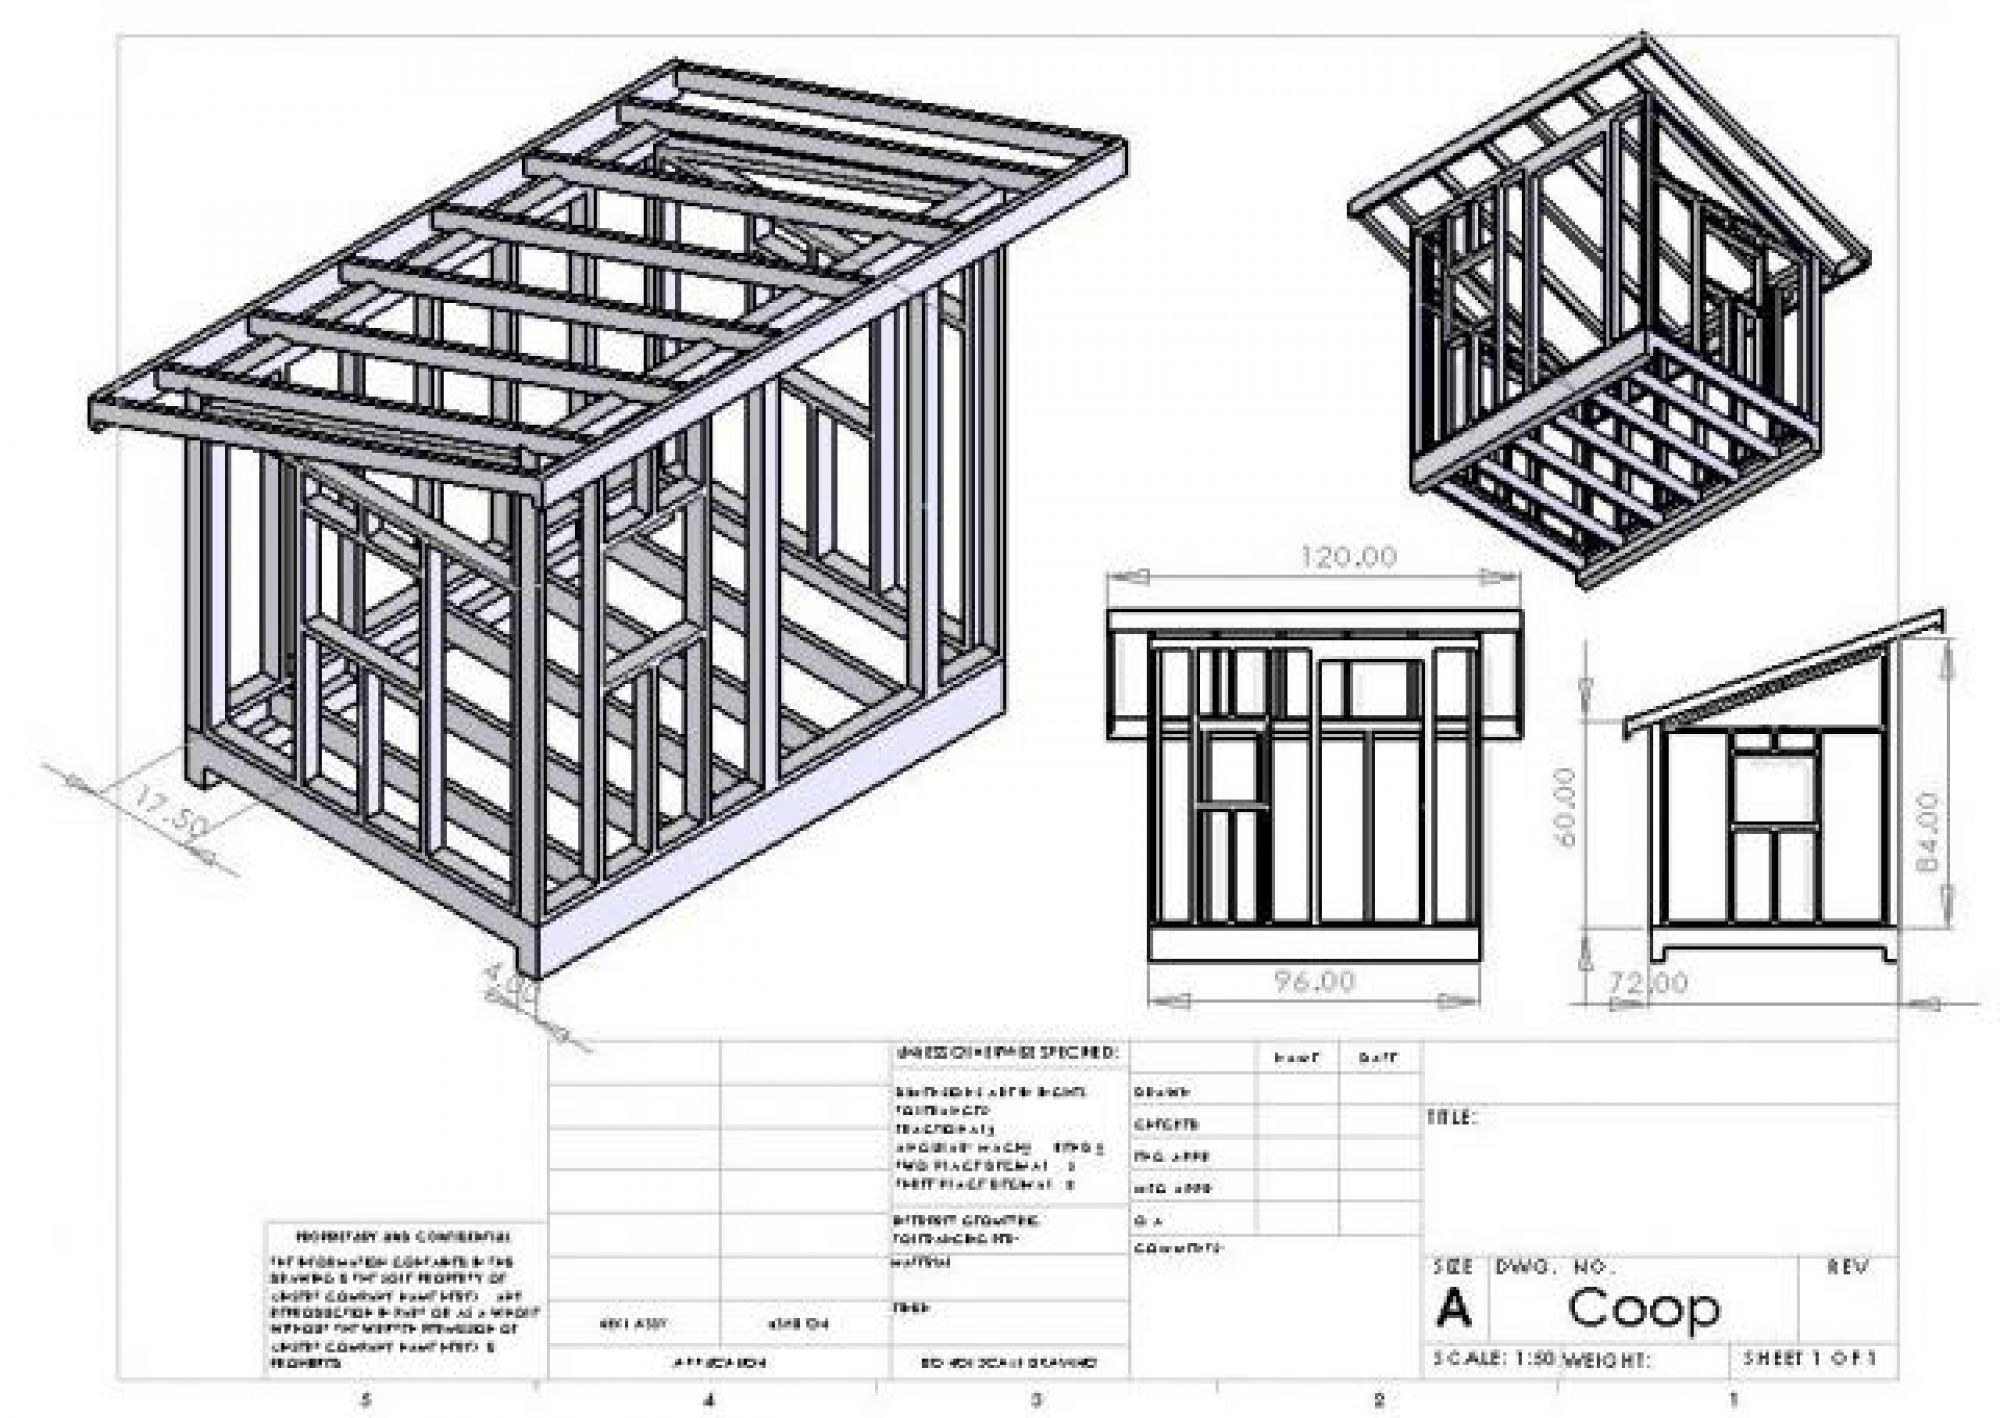
Downloading Your Pallet Shed Plans PDF
While this article provides a general overview, detailed, downloadable plans are essential for a successful project. We recommend searching online for "free pallet shed plans PDF" to find detailed blueprints tailored to your specific needs and preferences. These plans will provide precise measurements, diagrams, and additional tips that can streamline your construction process. Remember to always prioritize safety and take your timeâ€"building a shed should be an enjoyable and rewarding experience!
Enjoy your newly built, cost-effective, and stylish pallet shed! It’s a testament to your DIY skills and a fantastic solution for your storage needs.